Artworking 101 and My Process Checklist: How to artwork, supply your designs to clients and ensure a smooth handover.

Artworking has multiple functions. It’s a tool to proof and carefully finalise the design, triple-check the colours are correct and the layout is perfect. It’s a way to ensure that the design cannot be changed - either accidentally or on purpose. And importantly, it’s a tool to ensure that any designer or printer who needs to take a look at the files can understand the design quickly and easily. They will be grateful for the extra steps you took to make life easy for them, and your client will appreciate how tidy and professional everything feels.
Artworking is an absolute must when your design project comes to an end or needs to go to print. But it wasn’t until after I had graduated, and I had spent 3-4 months in my first design job, that I actually knew how to artwork a file. Since graduating over a decade ago, I’ve worked in different agencies and design roles where artworking was always a really important part of design - but every agency had a different process. In one of my roles, we spent time at the end of the project artworking the file. In another role, we were told to artwork the file and save artworked versions as we went along. I also know of agencies that have entire artworking departments, where the work is finalised there before being sent to the client.
But in every system, the core idea is the same. When we artwork our designs, we are preparing our work to be robust, can’t easily be edited or changed and importantly, ensuring that if another designer picks up your design, it can be easily understood. We can do this by finalising layouts, outlining our designs, organising our colour palettes, tidying up the Illustrator file and exporting our files correctly.
-
Unorganised design files make it difficult for other designers to pick up your work - which ultimately affects your client.Why is it important to artwork your files? Well, making sure your designs can’t be edited and are robust makes sense. We want to ensure that the client doesn't edit them in a way that will undo all the hard work we’ve put in and all the time getting the typography looking perfect. But when I first started artworking, I had no idea why it was important to ensure other designers and suppliers could easily understand my work - it’s my design so why do they need to understand it?
Once I started getting messy design files sent to me by clients - I completely got it. It’s about making sure that the client can continue to utilise their designs for as long as the work serves them. Even if 10 years later, they decide to take their files to other designers or suppliers. They need it to be neat and organised, so the other designer can pick up the mantle in a stress-free way.
When I’m sent messy files, don’t have organised swatches, RGB and CMYK values are both used, the fonts aren’t outlined or the illustrations are not artworked. I have to go back to the client with questions so I can understand the design. Not in a way that is mean-spirited, but I need to understand what I’m working with. The clients might be completely unaware that the files aren’t clear, and it’s not the kind of impression you want to leave on the client or that new designer.
I also believe that good artworking is about respect for the industry. We want to make sure we make things easy for others in our space, and that even our artworking is a representation of the high level of service we provide. And ultimately, it’s worth doing it right for your client’s benefit.

Neatening up the typography, before it is outlined.
When I artwork my files - make the process work for you!Right so, that’s why we do it, but when should you artwork your files? As I said at the top, everyone has a different process but the goal is the same. So part of it is choosing what is the right style for you. Would you like to artwork at every stage or just at the end?
For me, I prefer to artwork at the end of the project. For my branding projects, I send the client a short presentation of our finalised designs for final sign off, and then once it’s all approved. I spend a bit of time finalising and simplifying the file, perfecting the typography, outling the core elements, exporting everything, clearly naming the files and pulling together my brand guidelines document.
This process works best for me because I find that if clients have small tweaks or colour changes before sign off, then artworking throughout the process adds much more time. And when I work for clients on 3-4 step branding projects, this time really adds up. But like every part of my process - I do have some flexibility and some projects require different things. For example, I love typography, so I always put lots of time into this and perfect the typography as I work while the project is live.

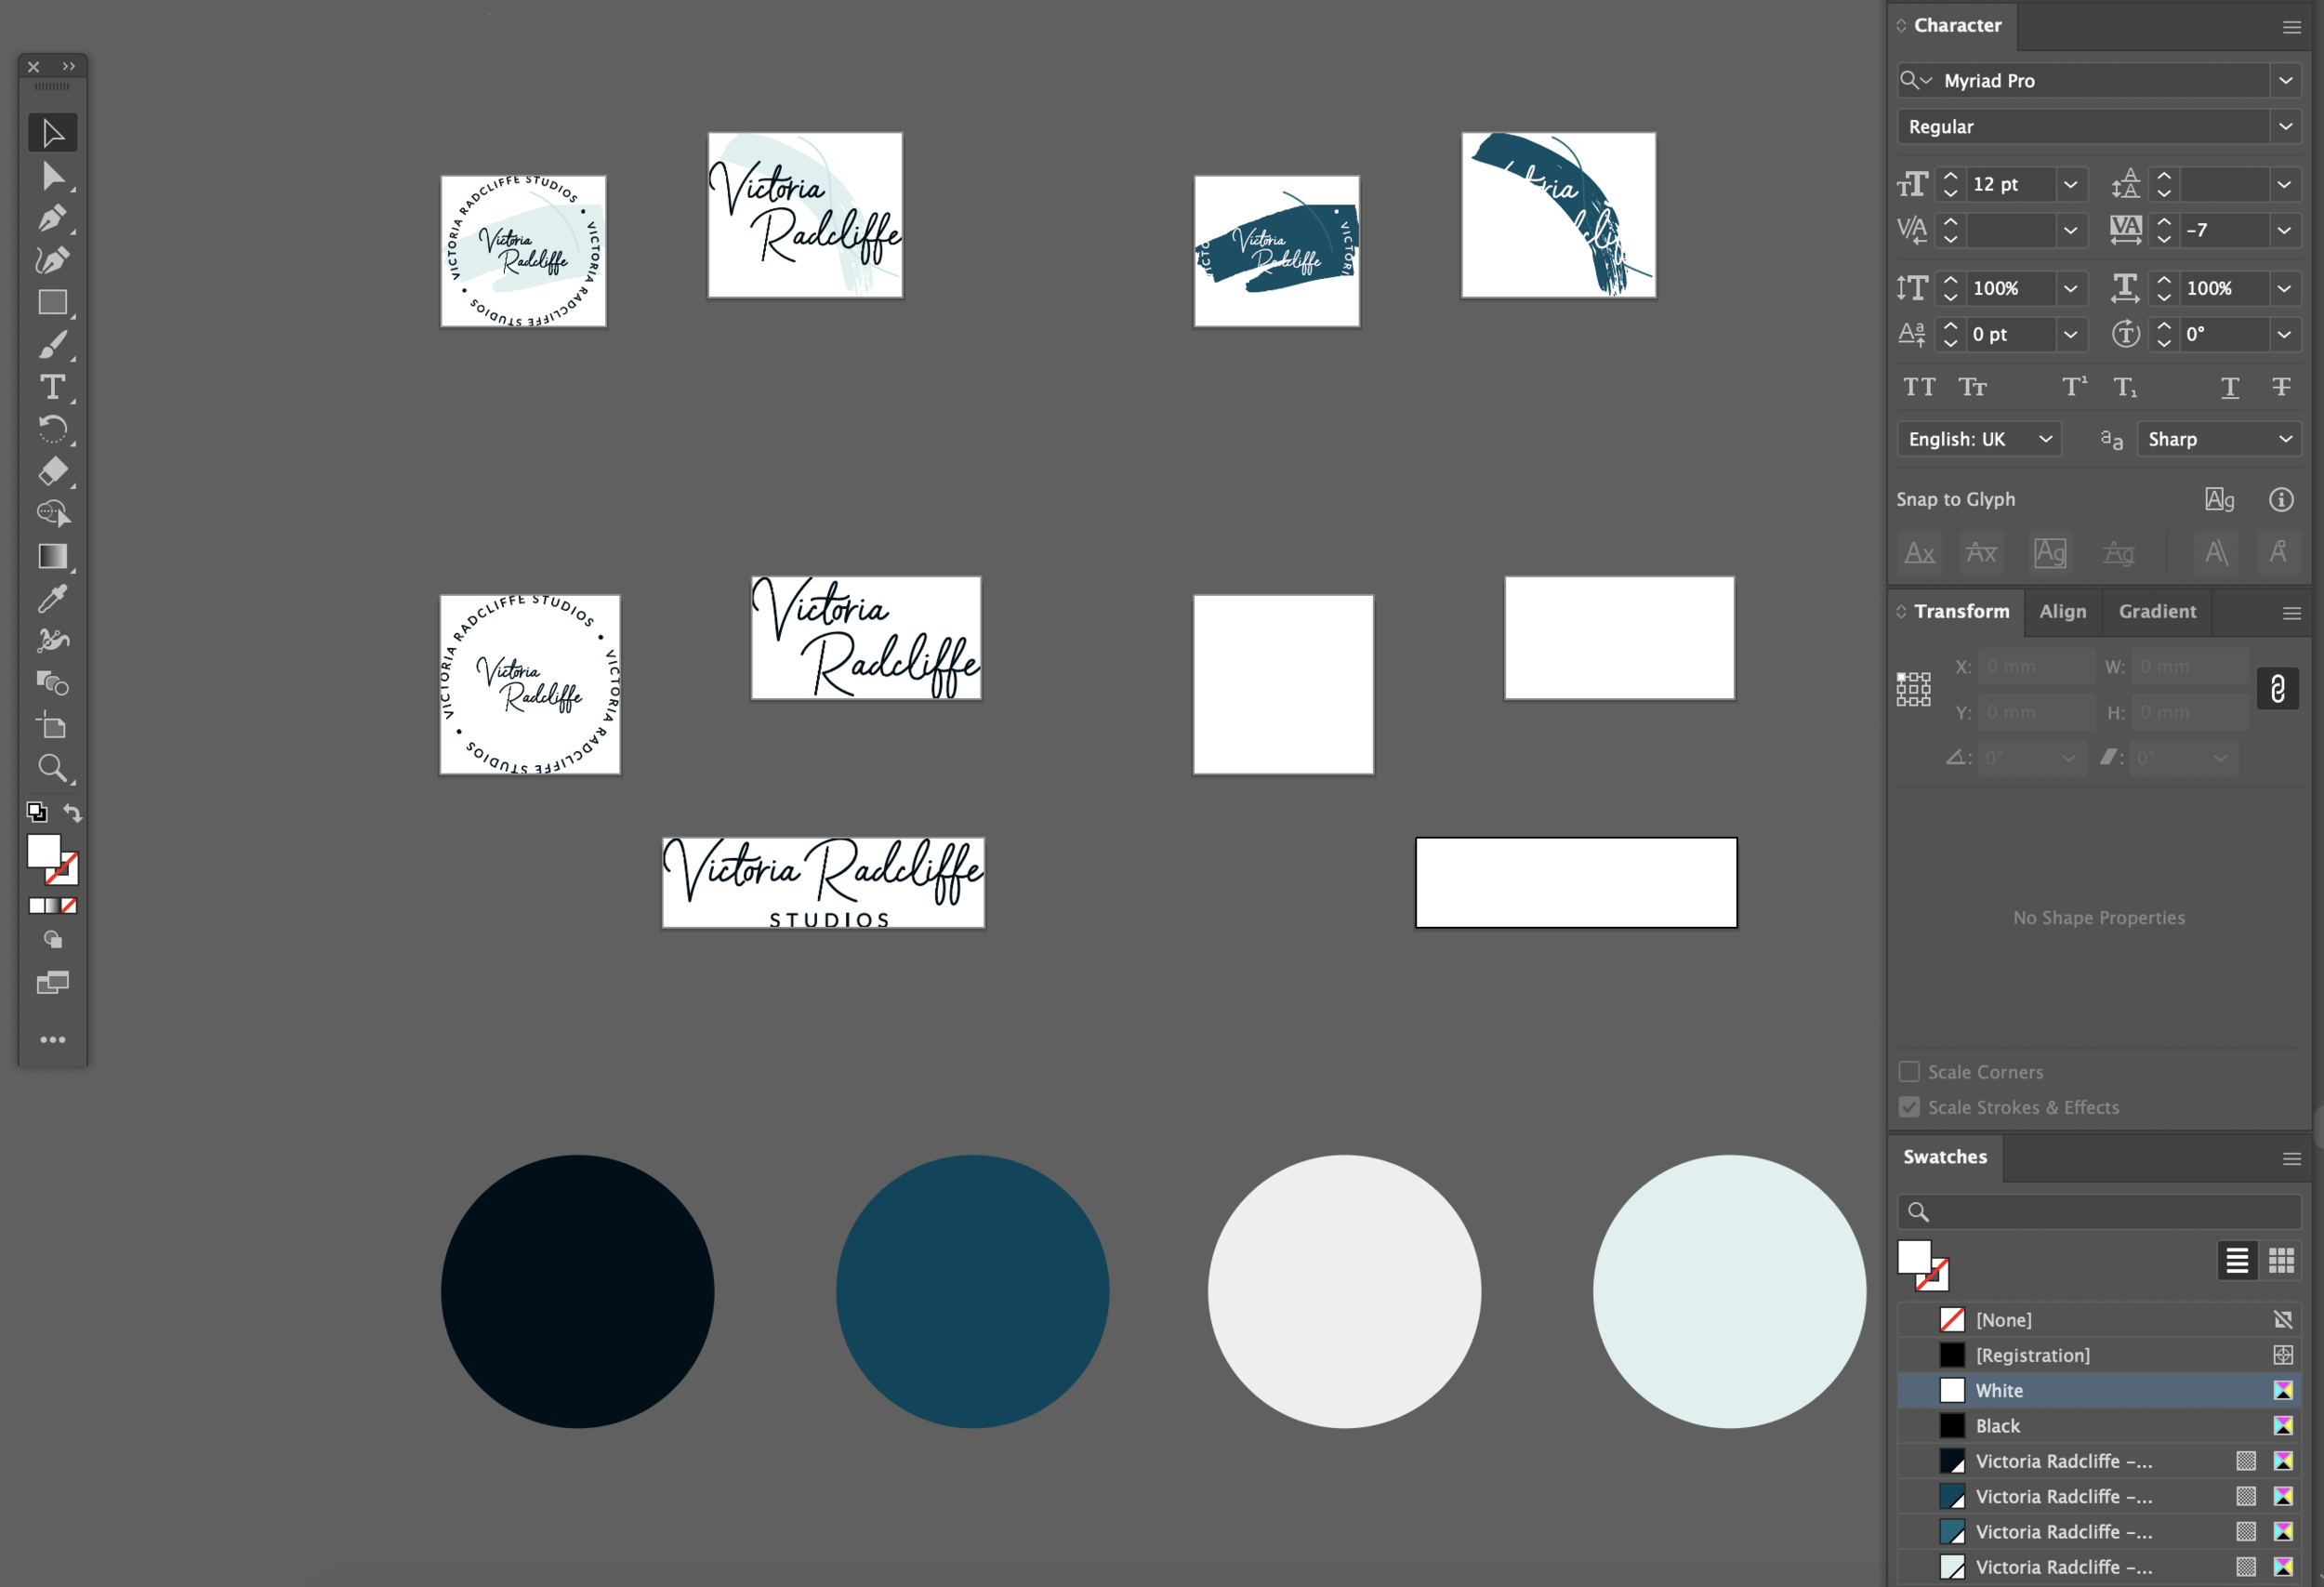
An example of a neat and organised Swatches palette
My Artworking Process Checklist & what files to provide the client withThose of you who know me, will know that I LOVE a to-do list and structure. I love having a clear process, and having it in writing to go through at the end keeps me focused. I rarely outsource my work but when I do, having this written down allows me to easily let other designers know how I would like the designs to be finalised. So I’ve written out this process below for you to steal and hope you find this resource helpful!
Just to reiterate, this is my process and I’ve come across other designers who complete these steps in a different order or label their files in a different way - but the core ideas are generally the same. So take what you need and make it work for you.
Here’s an overview of the points that I go through: Just a note that I don’t explain HOW to do these - so if you are unsure of how to do any of these in illustrator then send me an email! If I get enough questions, I may jump back to this in a future resource.
Create a new ‘Artwork’ file so you can save your ‘live’ unoutlined designs separately
Organise your artboards for different logos and brand elements
Tips for checking over fonts and colours to ensure consistency.
Proofing and outlining your typography, so it can’t be edited.
Organising and labelling your Swatches (RGB or CMYK? Perhaps both!).
Scrub up your illustrations and group them together.
Export your logo and files into various formats for Web and Print.
Open up your EPS files to triple-check them (yep - don’t skip this one! You can thank me later).
Additional tips for if you are sending a design off to print.
An example of each logo separated onto it’s own artboard - ready for exporting!
What else can I provide my clients with to ensure a smooth handover?A brand guideline document is a must. I offer my clients brand guidelines with every Logo and Branding package. This helps me elevate my offering, but also it’s so beneficial to both me and the client in the long run. The client is able to see their colour values, typography and design styles, and clearly communicate these to any suppliers they may have. Then as a designer, I’m able to keep a careful record of what colours, typography and brand styles the project used. If a client comes back to me after a few years for additional work or printed pieces, I can jump back in straight away and have all the information I need. Rather than going through old emails or files.
The Logo Suite: A big part of handovers is passing the client the logo files so they can use their new brand going forward. I always provide my clients with the following:
Print Logos:
EPS: Vector file that is fully outlined with CMYK colour mode
PDF: fully outlined with CMYK colour mode
JPEG: High res for printing with CMYK colour mode
Web Logos:
SVG: Similar to an EPS, a vector file that is fully outlined with an RGB colour mode
PNG: High and low res with RGB colour mode
JPEG: High and low res with RGB colour mode
Explain to your clients how to use the files given to them: When I supply the logo files, I also send my clients over a PDF that I made, which explains to them each file type and when to use them.
Have a final hand-over call with your client: This might seem unnecessary to some, you’ve just worked together for ages and the project has come to a close, why have a new call? But you’ll be surprised how much care and value this can offer your clients. By having a final call, you open up the opportunity to support them with these files, see if there’s anything extra that your client needs. You can also use this as an opportunity to talk about future plans, how the client can roll out the design, and give advice on how the branding can be used to support them with these goals. You may find that talking through the future unlocks new ways that you could work together again.
Give your clients the chance to offer feedback or write a testimonial: I find that after providing my clients with the final files, having a final chat and issuing my final invoice is the PERFECT time to ask for feedback. You’ve recently chatted with them and provided support to them, so it sets a lovely tone for you to ask them to help you out by providing you with honest feedback. I also use my testimonial questionnaire as an opportunity to ask for confirmation to post their project on my social media too. My contract already asks this question, but I find that asking again means that they can actively confirm, and they aren’t caught off guard.

An example of how to organise your Artwork File, separately from your ‘Stage’ files
Do I need to supply clients with AI files? Or ‘Live’ designs?Let’s start with artworked AI files. I do not supply AI files to my clients because the EPS files contain the same information. If they ask for them, then sure, what’s the harm, but ensuring that everything is outlined and artworked as usual, so that the logo can’t be edited and the design is protected.
So when I say ‘Live’ designs, I mean brand files where the fonts are editable and not outlined. Client’s usually ask for this if they are concerned that they may want to amend their business name in the not-so-distant future, so they ask for the file to be editable. In my opinion, it’s not best practice and I try to avoid it unless the client insists. As when the ‘live’ design is given over, this could lead to the layout being edited, colours changing, fonts unlinking, and the original structure lost or moved accidentally. So I tend to try and tell the client about protecting the layout and colours, and instead offer them a set small fee for the editing of their business name in the future. I may lose money by making logo changes after brand is finalised, but in my opinion protecting the integrity of the logo comes before the money I may lose.
And that’s it! You now know more about artworking than I did as a 4-year design graduate. I’m excited to hear how you get on and if you have any questions about the process, or have any questions about how to do some of these steps, then you can reach me at amy@beginstudio.co.uk
Until next time! Amy

For offers and resources directly into your inbox. ✨